
What you need
- Nagios Core 3.x or 4.x (for Nagios XI see the Nagios XI guide)
- The easyNag app on your iPhone, iPad or Mac
- Shell access to your Nagios server
Step 1 — Connect easyNag to Nagios
In easyNag, add an instance with the URL of your Nagios web interface, your username and password. Browsing, acknowledging and scheduling downtime work without changes on the server. Client certificates are supported.
Step 2 — Install the notification script
Download easynag_nagios_core.sh from the push setup page, copy it to your plugins directory and set the default instance name at the top of the script:
cp easynag_nagios_core.sh /usr/local/nagios/libexec/easynag_notify.sh
chmod +x /usr/local/nagios/libexec/easynag_notify.sh
Give each contact your easyNag user key (in the app under Settings → Manage Notifications) and the two easyNag notification commands:
define contact {
  contact_name                   oncall
  _EASYNAG_USER_KEY              your-user-key
  host_notification_commands     notify-host-by-easynag
  service_notification_commands  notify-service-by-easynag
  ...
}
The command definitions and a full contact example are on the push setup page. The instance name must match the instance name in easyNag exactly, otherwise the actions in the notification can't find the host.
Step 3 — Act on alerts
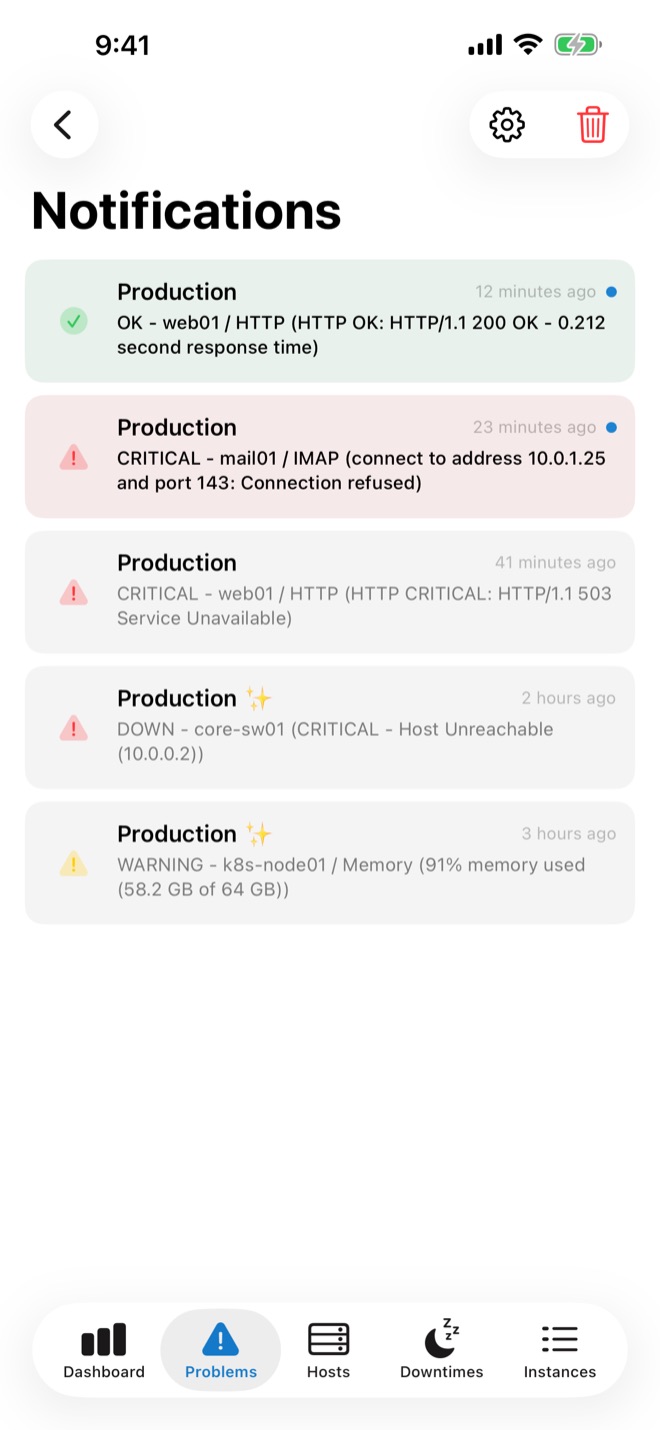
Long-press a notification to acknowledge or schedule downtime. In the app, swipe a problem for quick actions or select several with bulk actions.
Related guides
checkmk push notifications on iPhone
checkmk alerts as push notifications, with actions.
Read the guide → WorkflowAcknowledge alerts from your phone
Acknowledge from the notification or the app.
Read the guide → On-callCritical Alerts for on-call
Alerts that break through Do Not Disturb.
Read the guide →