Step 1 — Add your checkmk site
In easyNag, add an instance with your checkmk URL and an automation user or your normal login. easyNag supports the checkmk REST API and Multisite, client certificates and distributed setups. Clear Logs and Master Control are available with checkmk Multisite.
Step 2 — Install the notification plugin
Download easynag_checkmk.py from the push setup page and copy it into your site's local notifications directory, so it survives checkmk updates:
# as site user
cp easynag_checkmk.py ~/local/share/check_mk/notifications/easynag
chmod +x ~/local/share/check_mk/notifications/easynag
Create two custom user attributes under Setup → Users → Custom user attributes: EASYNAG_USER_KEY and EASYNAG_INSTANCE, both with Make this variable available in notifications turned on. Fill them in for every user who should get pushes. The user key is in the app under Settings → Manage Notifications; the instance name must match the instance name in easyNag exactly.
Then add a notification rule (Setup → Notifications → Add rule) with the notification method easynag. Users without a user key are skipped. The full walkthrough with a test command is on the push setup page.
Step 3 — Choose what gets pushed
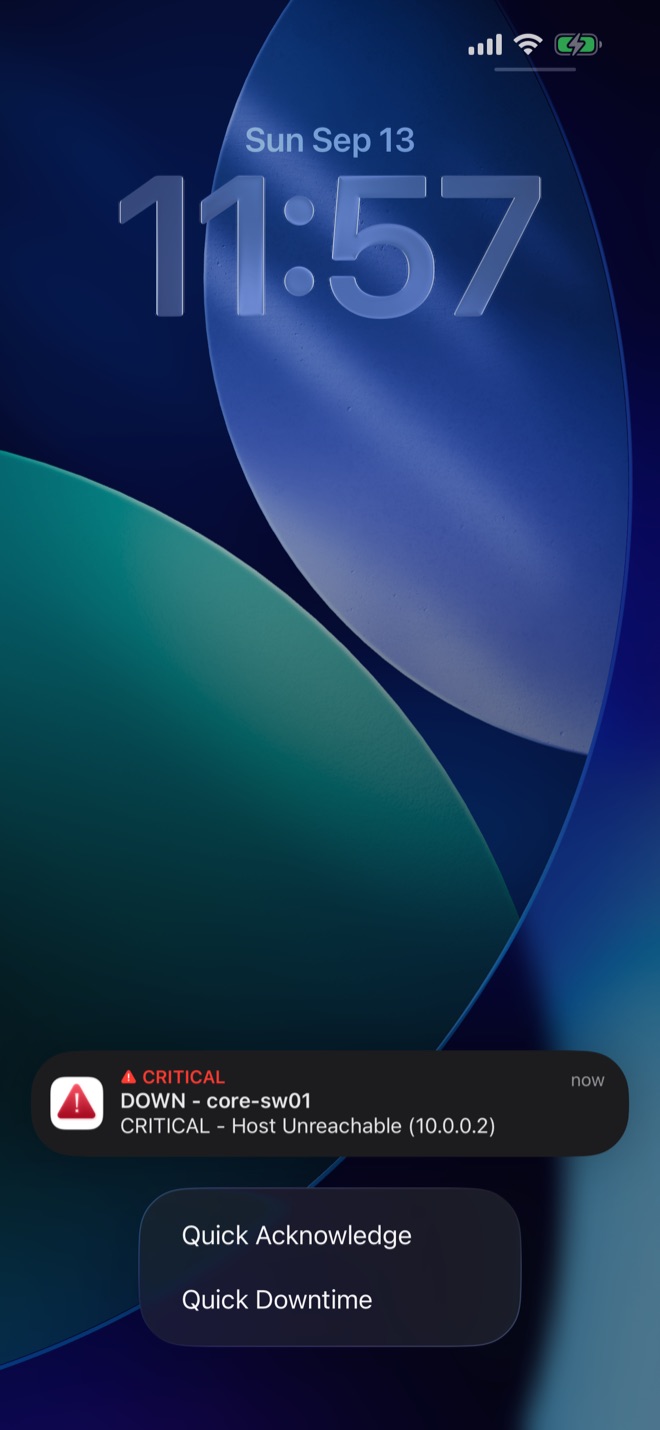
checkmk's notification rules decide which alerts are pushed. In easyNag you set sounds, Critical Alerts and Quiet Hours. Long-press a notification to acknowledge or schedule downtime.
Related guides
Nagios push notifications on iPhone
Nagios Core alerts as push notifications on your iPhone.
Read the guide → On-callCritical Alerts for on-call
Alerts that break through Do Not Disturb.
Read the guide → WorkflowSchedule downtime from your phone
Schedule and remove host and service downtimes.
Read the guide →