
Step 1 — Connect easyNag to Icinga
Add an instance in the easyNag app. Supported are:
- Icinga 2 API: create an ApiUser and use port 5665
- Icinga Web 2 and Icinga DB Web: use your web login
- Icinga Classic for 1.x setups
No server changes are needed for this. You can acknowledge (with comment and expiry time), recheck, switch notifications and schedule downtimes.
Step 2 — Add the NotificationCommand
Download easynag_icinga2.sh from the push setup page, copy it to /etc/icinga2/scripts/easynag-notification.sh and set the default instance name at the top. Give each user their easyNag user key (in the app under Settings → Manage Notifications):
object User "oncall" {
  vars.easynag_user_key = "your-user-key"
  vars.easynag_instance = "MyIcinga"   // optional, must match the app
}

apply Notification "easynag-service" to Service {
  command = "easynag"
  types   = [ Problem, Recovery, Acknowledgement ]
  users   = [ "oncall" ]
  assign where host.vars.easynag_notify == true
}
The full NotificationCommand "easynag" is on the push setup page. Time periods, escalations and renotification work as with any Icinga notification.
Step 3 — Act on alerts
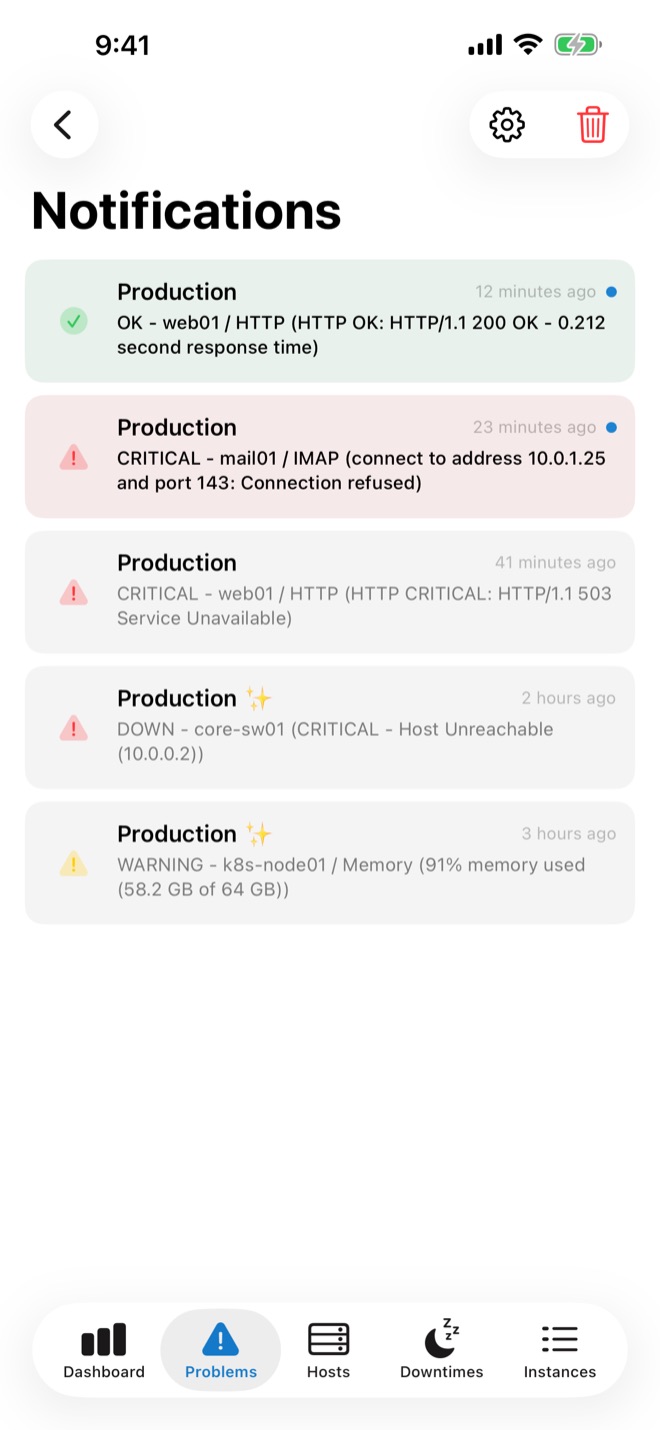
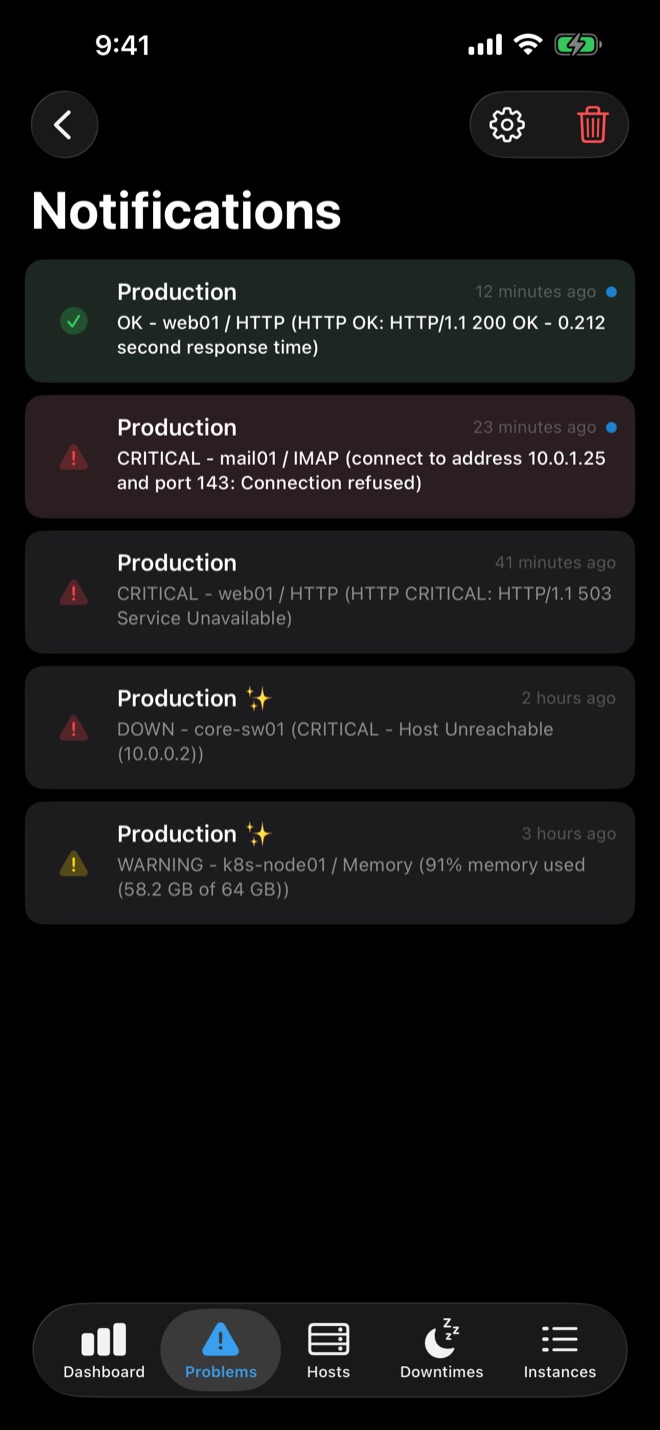
Set up Critical Alerts (priority 3) and Quiet Hours as needed. Long-press a notification to acknowledge it; author and comment show up in Icinga right away.
Get easyNag on the App StoreiPhone, iPad & Mac
Download on theApp Store